Monday, 31 December 2012

Happy New Year's Nibbles!

Hey Everyone!

Have a wonderful New Year.
Enjoy your evening, the food, and the company you keep!

We will!
Beetroot And Goats Cheese

Beef Cheek, Potato, and Truffle

Pork Belly and Fennel Chips


Friday, 28 December 2012

Corn Fritters (Gluten Free Goodness)

Very simple, very tasty. Actually, you feel pretty great after these. You don't wanna feel like going back to bed, 'cause they were too heavy. 

The best ones use Fresh Corn (Nothing beats it!), and is not so much like a pancake... Have them fresh with eggs, and if you're feeling a little naughty. Get in some bacon too!


Cut your corn Straight from the cob. No cooking involved here, just a little prep work that even I have managed in 10-15 mins!


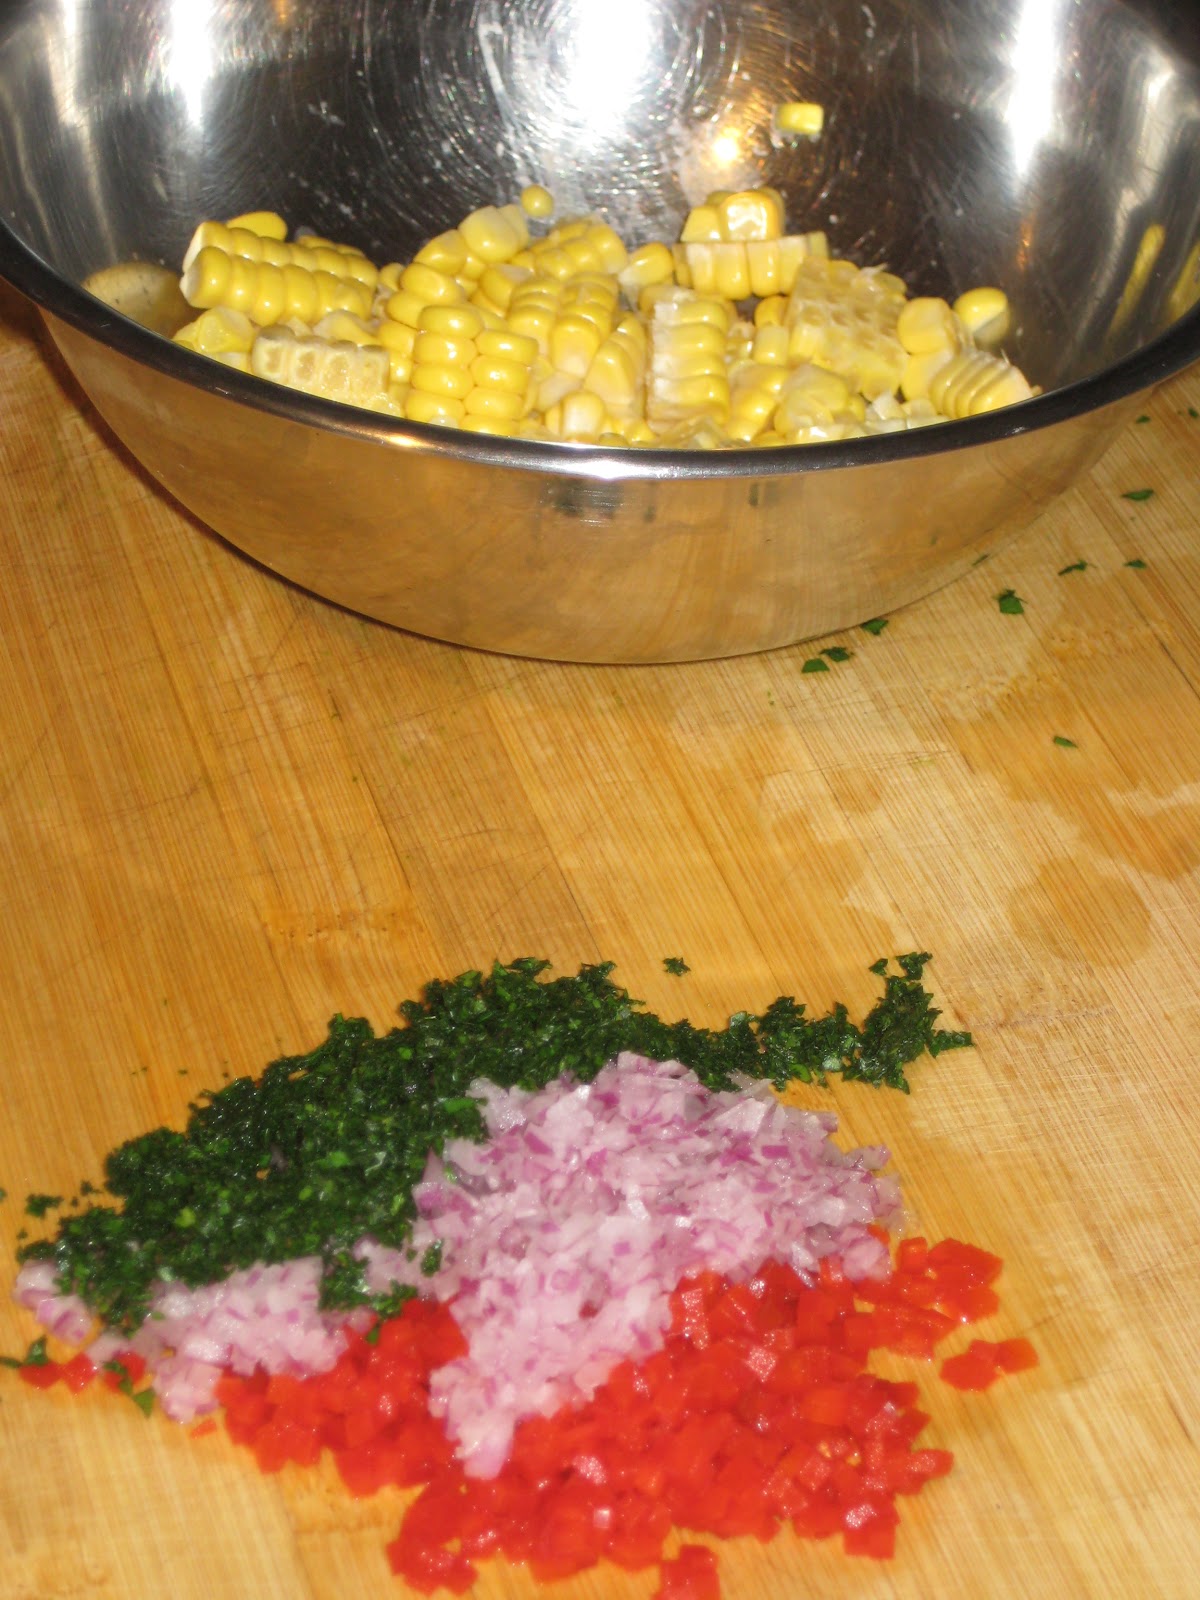
Cut up your Red Onion, Peppers and Parsley. You'll need some breadcrumbs (Gluten Free Peoples:Your normal Gluten Free Breadcrumbs are fine too!) and eggs for the mixture. A touch of of Salt and Pepper for taste. Both the Breadcrumbs and eggs are really there to help Bind everything together. (Don't go overboard... You'll just end up with a pancakey- eggy mix... Not-So-Fantastic!)

Crack your Eggs in and mix well. You should only need 2 or 3. Just getting your corn coated at this stage, then start adding in all the extras. Finally add the breadcrumbs and mix well again. 


Let the mix rest before cooking (the Breadcrumbs soak up the egg and give it the fritter feel. Also Breadcrumbs are a lighter option than flour -what most other corn fritter recipes contain) Then using a 30 cm fry pan heat up a little oil on medium heat.  

If you have metal rings for the fritters use them, if not gently spoon 2 tblsp into the pan - around 3 fritters at once and let them caramelize for 3-4 mins (brown on the bottom - as everything contains sugar). Then gently with a large spatula, turn the fritters over and caramelize the other side. Then you can cook your eggs. And you’re done. These can be made a day ahead, and can be stored for 3-4 days in the fridge. Makes around 12 fritters.


There you have it! Corn Fritters that are crunchy and fresh (and may have you wanting more, No Apologies from us on that one though...)

Those poached eggs are so good as well. Runny centres, and soft. We'll let you in on that secret next one (or two) along!


*From The Chef: If the mix seems too wet or too dry, just add some breadcrumbs or 1 more egg to the mix to even it out

Thursday, 27 December 2012

Pear Souffle

Soft Delectable Heaven, with poached Pears in Vanilla Syrup. 


Someone couldn't wait for the Pears to be added to this one. Just went straight in for the kill (before it deflates)!

Wednesday, 26 December 2012

Slicing and Dicing (part 2)

It's taken me a few tries. 
Longer than most, so I'm told. But being overly cautious, I've had no major cuts (phew) while learning to slice and dice my way through preparing dinner. Granted if someone wants to eat in 30mins, I can assure you I'm not the one preparing anything. Bahahaha!

Here's some photos to help you out. Just in case you want to impress your friends with Pretty Dishes. Not that you'll admit it, but Guys... It's very easy to impress the ladies like this. Just make sure you practise a few times first. You don't want to end up presenting your little evening for two with a handful of plasters!

 
Take your time. Use the smaller end of the knife. You'll have better control. Take off the first layer, cause it's not really needed. Chefs tend to like everything uniform, so it's usually the part that goes.

With Peppers, You can actually do this like taking off layers. They slice off like little sheets. Plus, it'll remove the pith (that's the inside of the pepper). You don't have to use them if you don't want.

Not to sound like some random Chef's Programme (... No. No Names.) but slice up your sheets into neat little fingers. I always find this is the easy part (the next bit I find tricky still, but Rob would probably laugh at me for saying that)

Now for some Zen. Line up the strips. Hold them gentle, and dice. Although, it sounds good in theory, they can be slippery to hold as a bunch after half way. Yes, that's me, the Amateur talking. 


So you got lovely little neat cubes of peppers. These were done for a cous cous, or corn fritters... Can't remember. 

Hmmm. Corn Fritters.
I'll go there next time peoples!

Wednesday, 19 December 2012

Slicing and Dicing (part 1)

A teary challenge. 
Enter: The onion.

Onions are a total pain in the ... Meh. You get the idea. To us normal people, they make you cry. And cry some more. I already told you I'm not the Chef. I'm usually good now with the first half of the onion. But the 2nd half still comes out a little messy.

Here are some pics of how to do it right...


Tip from the Amateur... Use a smaller knife. It will make life a little easier. Don't cut into the whole onion. Leave a little "together" towards the tip of the knife.


Straight up and down for the first part. Oh, if you can see: Rob's thumb is always at the back of the onion in these first 2 shots. He "pushes" the onion. It's almost as a means of control. 


Now slice through the onion in horizontals... Maybe 2 or 3 of these. It's just gonna depend on how small you want your onions.


Hard Part: Now hold your onion (so it all doesn't start to spread out) and cut in full. Now you should start to have neat little onion pieces.

Use it for everything. It takes plenty of practise, and plenty more tears. But it's worth it if you don't want big chunks of onion in everything. 


Sunday, 16 December 2012

Roast Chicken with a Difference

Last night was lovely. Nothing fancy. No pretty tricks. 
Just Chicken and veg. 

Yup. Occasionally we do dull at home too! Thing is though, it's never "just" a meal on a plate. There's a few simple ways at home that make your meal so much more yum. Having Veggies? Blend them up a little to make a puree. Or potatoes? Everyone loves the Fries! Why not do your own?


 Key Ingredients at the ready.

 Nomnomnomnom... The potatoes cut down. Small helps don't forget!


Veggies... As sauce? 
Well, when there's Yellow Peppers blended down to puree, it becomes super delish, cause you can get that chicken on your fork. And well, polish the plate with pride.


Finished with Asparagus, and a nice plump piece of Chook. 
Ok, there was a little bit of fancy going on tonight. 
There's Chef, drizzling Truffle Oil over dinner.

Happy Sunday Roast Peoples!

Sunday, 9 December 2012

Roast Pork ( with the Ultimate Crispy Crackling)

Start salivating... Now!

So, you love your pork roast? Then you are so in for a treat. 
It has to be one of the All time favourites of many. And many of us will venture out to the Local in search of one that has us coming back for more. Sounds like you? It's certainly me.

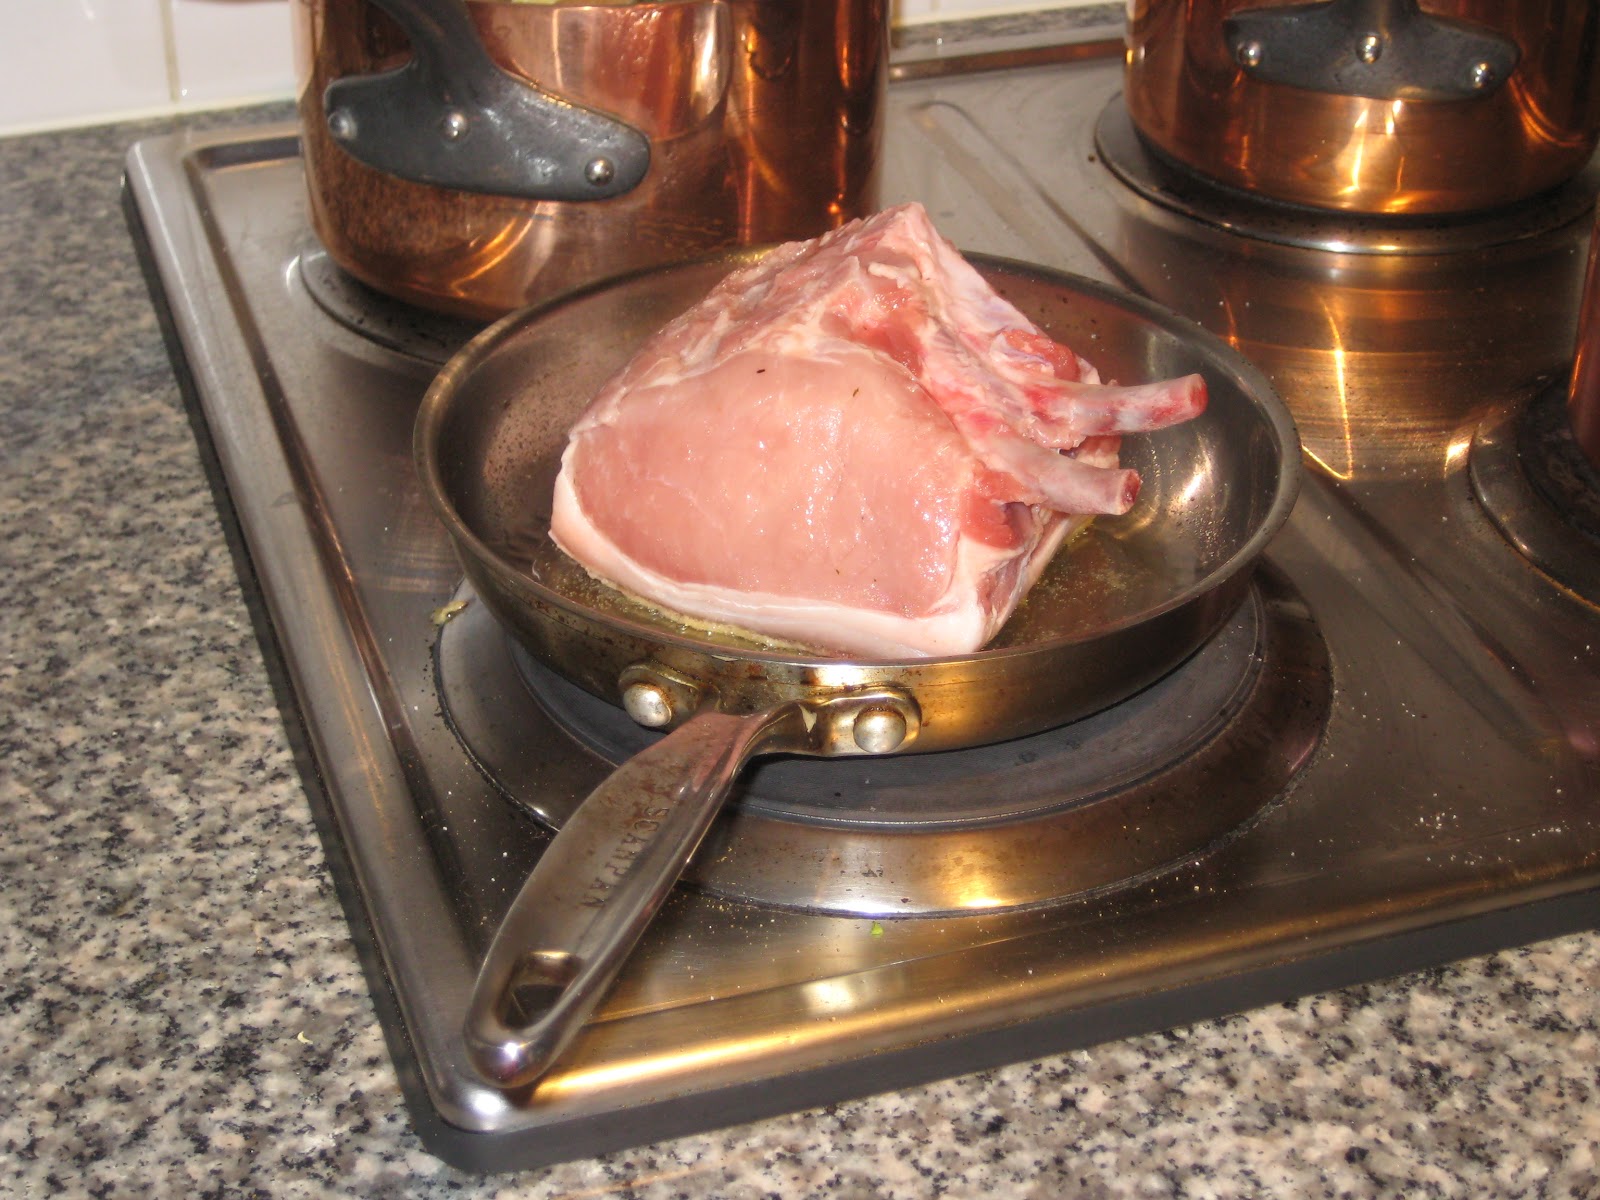
Start with a nice piece of Pork, Rack of, I mean everything in cooking has to be like that right? Better quality start, better quality finish. 'Nuff Said. 

Get yourself loads of salt and some white vinegar. Score the surface of the skin. Rub in the vinegar (Just on the skin, ok). Now get the salt on it. I'm not saying sprinkle though. Be generous. It's coming off later, so don't worry. Blood pressure watchers beware...


Leave it for 15-20mins. After that you can just wipe of the excess salt with your hands. Oil up your pan, and get it smoking hot.

Skin side down Peoples! You want it nice and crispy!


This is going into the oven. But please: If you don't have a saucepan with a metal handle... Don't put it in the oven! Use an oven safe dish...


Post oven Rest... As excited as your going to be when you get this out of the oven, Your meat needs to rest, ok. Keep yourself distracted by finishing your apple sauce or your potato smash... or something!


This photo says I don't really need to explain anything more.
PS- The one at the front is all mine!